
Giving your home a different look doesn’t have to always include a pricey expansion or a complete change of furniture line up. A simple tweak on its external structure can beautify it a thousandfold which isn’t only cost-effective but is also unique.
Nowadays, people are starting to appreciate what cladding can do and it’s amazing how it could also be installed manually.
Cladding, which refers to an outside layer lining a structure or a building that usually comes as attached panels, serves three main purposes
- Longevity – It provides long-lasting external wall covering.
- Protection – It protects the building or structure against the elements of weather as it serves as additional thermal insulation.
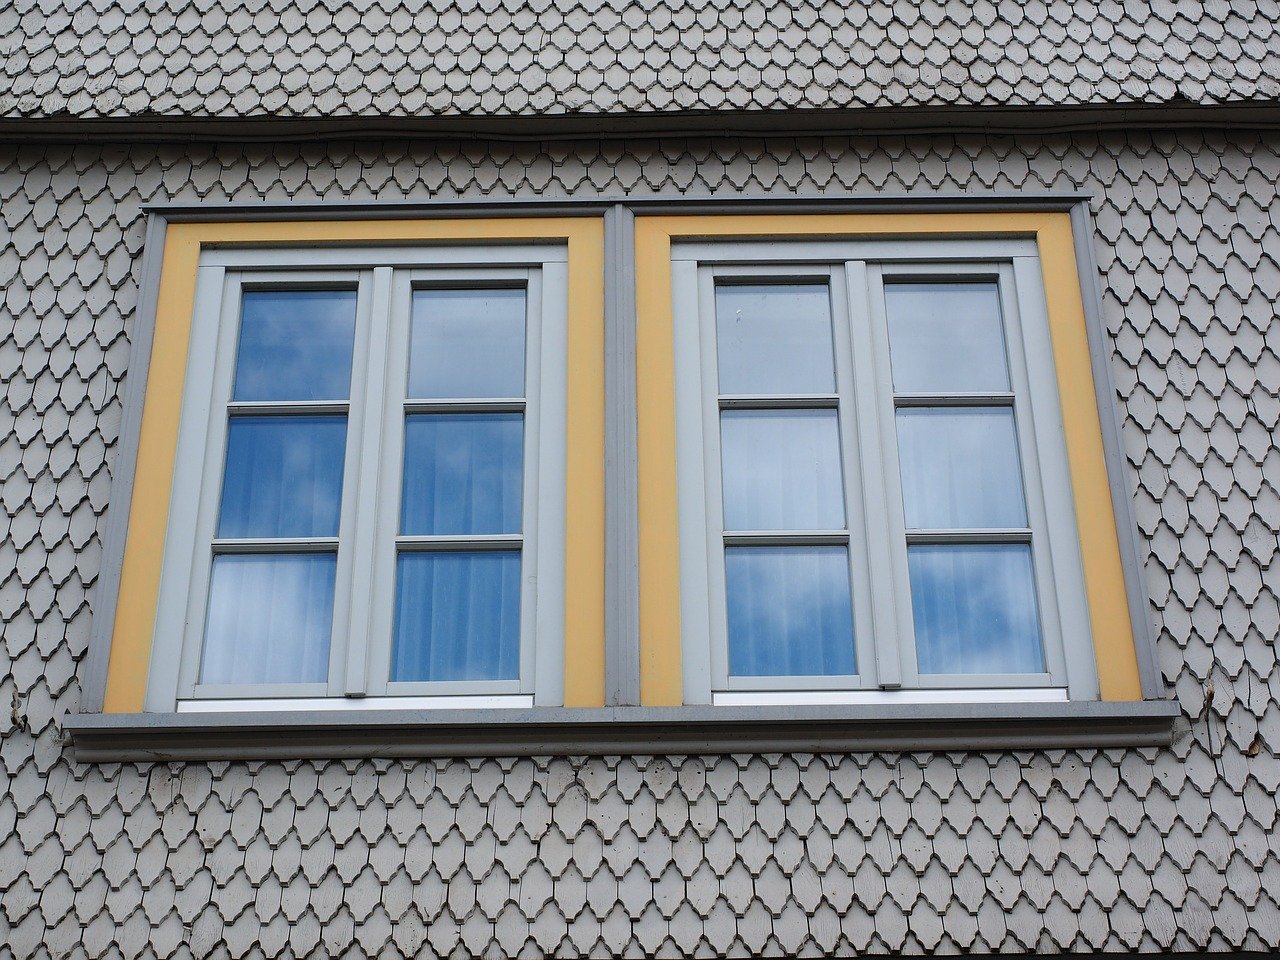
- Aesthetics – It gives as a decorative layer featuring a building’s exterior.

While there are varied types of cladding, it can be categorized into external and internal use:
Internal cladding is somehow used as an alternative to tiling in terms of stylizing a building’s interior. On the other hand, external timber cladding protects a building’s exterior from wear and tear due to effects brought by weather elements. They are water, sunshine, and wind. It also insulates a building during the colder months while providing your exterior structure with some decor.
Being at home during episodes of lockdown could limit your access to professional services. But, whether it’s a project that had been sitting around or you’re preparing for winter, here are ways on how to install exterior wall cladding to your home.
Step 1 – Make sure of the area you are covering.
A crucial way to start your project is to measure your home’s exterior walls or the area that needs to get covered. Knowing the exact measurement will help you save time, money, and effort. Be reminded that it’s better to have a little bit of excess than for your supply not to be enough at the time you’re doing your project because you didn’t know the exact length and width. Include measuring the spaces where it will pass through like doors, windows, and corridors.
Step 2 – Properly dispose of old cladding.
You cannot install new aluminium cladding without removing your wall of the old ones. Be very careful when doing inspect and removal. Modern external cladding is now composed of stable materials like fibre cement and PVC. But the older types include the usage of asbestos which is considered hazardous because it contains harmful substances that it calls for proper handling and disposal. Consider it though, that whether it’s old or new cladding you’re about to remove, you would still need a professional’s advice in disposing of it.
Step 3 – Safety first.
All health and safety concerns should be ruled out first before performing external cladding installation. As the cladding panels get transported to and within the working area, all workers involved should wear the necessary personal protective equipment or PPE, observe the required regulations and should understand the job’s risks. Also, they should be knowledgeable and trained in managing any trouble that may arise.
That being said, all plywood sheathing should be installed onto the walls of your home before the exterior cladding. Do not overlook the necessary installation of house wrap and foam insulation for protecting your home from weather conditions that could affect the ongoing installation. It also helps in the efficient usage of energy. So, wrap the building with the paper you’re most confident to use then secure them with staples. Then install the foam insulation panels using nails.
Step 4 – In starting the installation of Cladding rows
Depending greatly on the material you use for siding, considering the starter row, which usually starts from the bottom of the wall, is the best way to start cladding with. It’s best to keep the initial row-level along the entire length to keep each row straight throughout.
Step 5 – Overlapping the next rows
Keep in mind that every row must overlap the top side of the bottom row when using the following:
- Cement board
- Metal siding
- Vinyl siding
- Wood siding
This method prevents the water from seeping back into the cladding. Double-check
when and how the product declines through their website.
In general, most of the wall cladding needs to get finished up with the help of a special item. An example could be, the vinyl siding is installed initially with the use of specific corner pieces and J channels. As the J channels get installed first, the trim and corner pieces will be put in place only after the wall siding had been installed. This applies to wood, brick, cement, and stucco cladding.